
Cloud Storage Integration
We now offer a convenient solution to easily connect your University of Utah Cloud accounts, such as University Box or OneDrive, to the CSBS Virtual Lab applications. This enables you to open and work with your files from the virtual lab and elsewhere.
Connecting Your Cloud Account
Before starting the process:
- You will need to have logged in to your University of Utah Box account at least once prior to connecting your Cloud account to Kumo.
- Your University of Utah OneDrive account is already available to connect as part of your Umail.
To begin, login to the University of Utah's Cloud Storage Integration Service by navigating to https://kumo.utah.edu.

Authorize your Cloud Service account
Select which of the services you want to connect and click "Authorize".
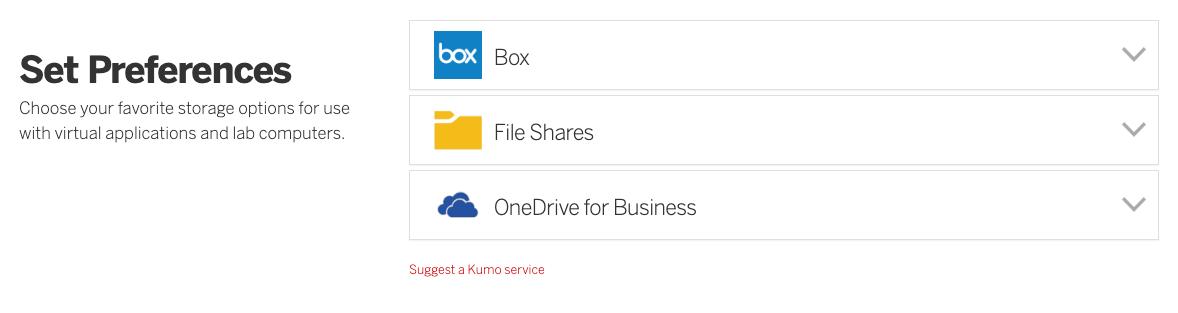
You will be prompted to log into your University Box or Microsoft account to authorize
their respective services. Repeat the process for each service.
When prompted, enter your UMail email address and password, UNID@umail.utah.edu.
 |
 |
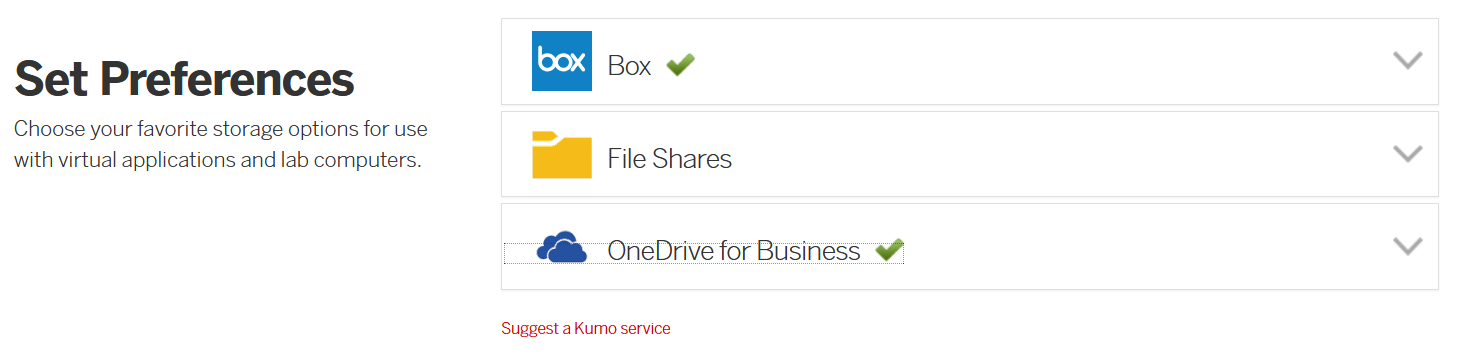
Continue the authorization process to successfully log in, and then click to grant the University of Utah access to your respective Cloud account. When finished, the cloud service or services will be linked and you will see them as linked accounts.
Opening and Saving Files
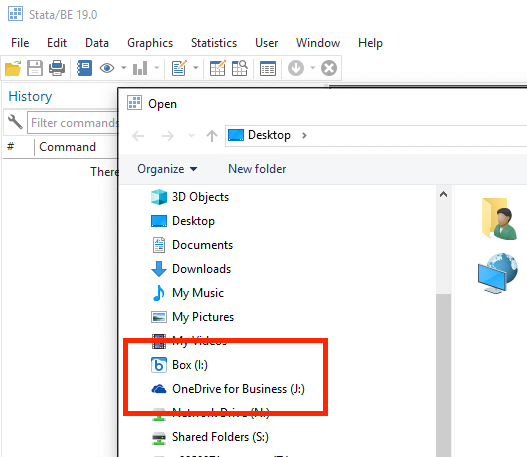
You can open or save any files within your Cloud account using the applications in our Virtual Lab. The Cloud locations are located in either the "I:" drive for Box or the "J:" drive for OneDrive. Saving to these drives will upload the files to the respective Cloud accounts automatically.
First, open an application in the Virtual Lab. Instructions on accessing the Virtual Lab can be found on our support page.
Open
With the application running, click on “File”, then “Open”, and select the preferred
drive letter to find your files. See image below for visual guidance.
Save
You will save files using a similar process. Click on “File”, then “Save” or “Save
As…”, and select the I: or J: drive letters for the preferred location.
If you have any questions or problems, please visit the FAQ or contact the help desk.