How to access the CSBS Remote Desktop Server
Before you connect:
Request permission via the helpdesk to access the Remote Desktop (Terminal) Server. Any faculty member within the College of Social and Behavioral Science may request access to this service. Access for students must be requested by a sponsoring faculty member. The sponsoring faculty should be an advisor or the student's PI.
To connect using Windows:
- Connect to the Department VPN Service.
- Open Remote Desktop Connection. Select Start --> All Programs --> Accessories -->
Remote Desktop Connection
---OR---
Select Run from the start menu and type mstsc, then click OK.
You will see the following prompt: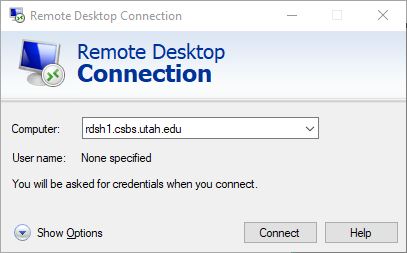
- Replace "Computer" with the name of the terminal server that you wish to connect to (i.e. rdsh1.csbs.utah.edu).
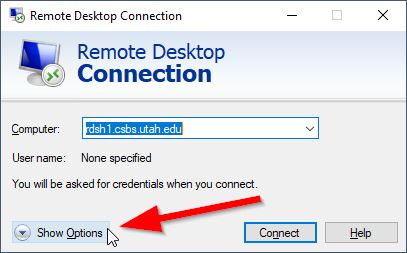
- Select the "Options" button to open the Advanced settings of the connection.
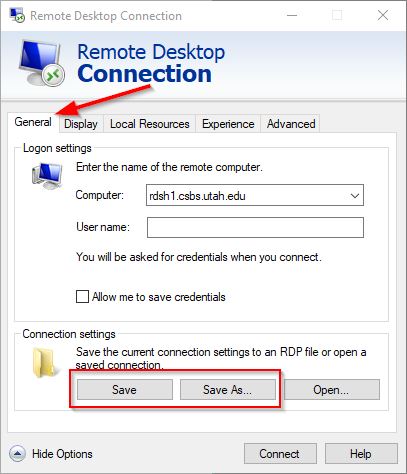
- Click "OK" , then click "General" and save your RDP settings to your Desktop.
- Click Connect.
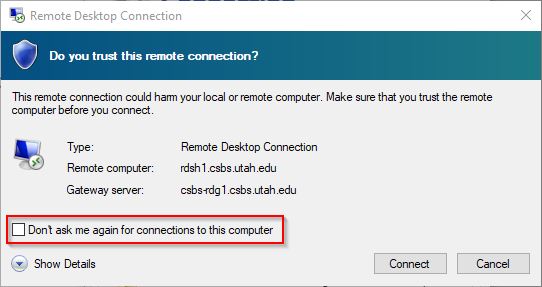
- You may receive a warning about trusting remote computers such as the following screenshot,
click Connect:
- An informational message about the server may appear that is similar to the following
screenshot. Review the information, then click OK:
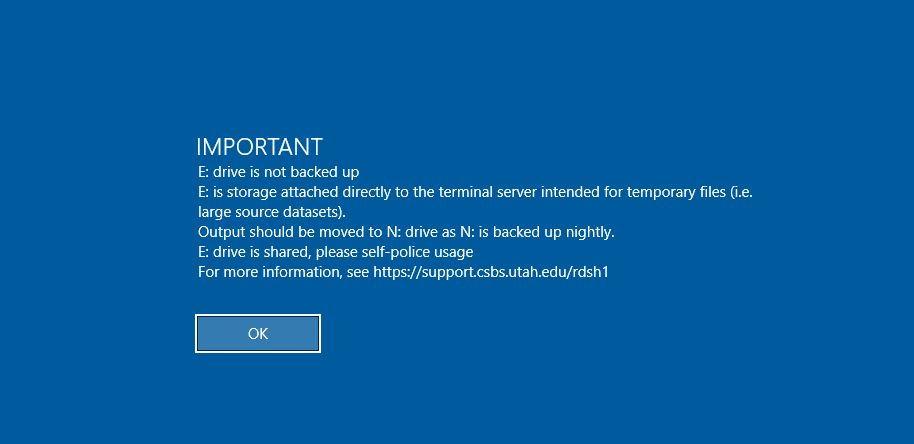
- You should see something like one of the following prompt
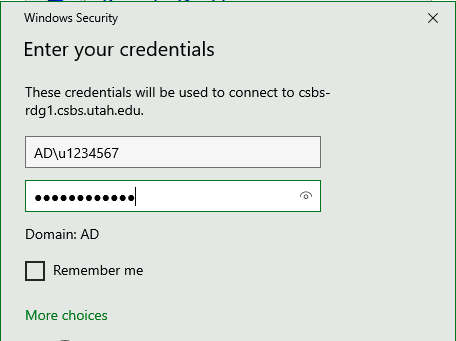
- Enter your username as AD\<your uNID> (i.e. AD\u1234567)
- You will be notified regarding the use of Duo for 2FA during this login, be aware that each time you login you will need to approve the request from the duo application on your phone. If you do not use Duo but still need access to this service, submit a helpdesk case.
- You will now have a desktop within a window, as in this example:
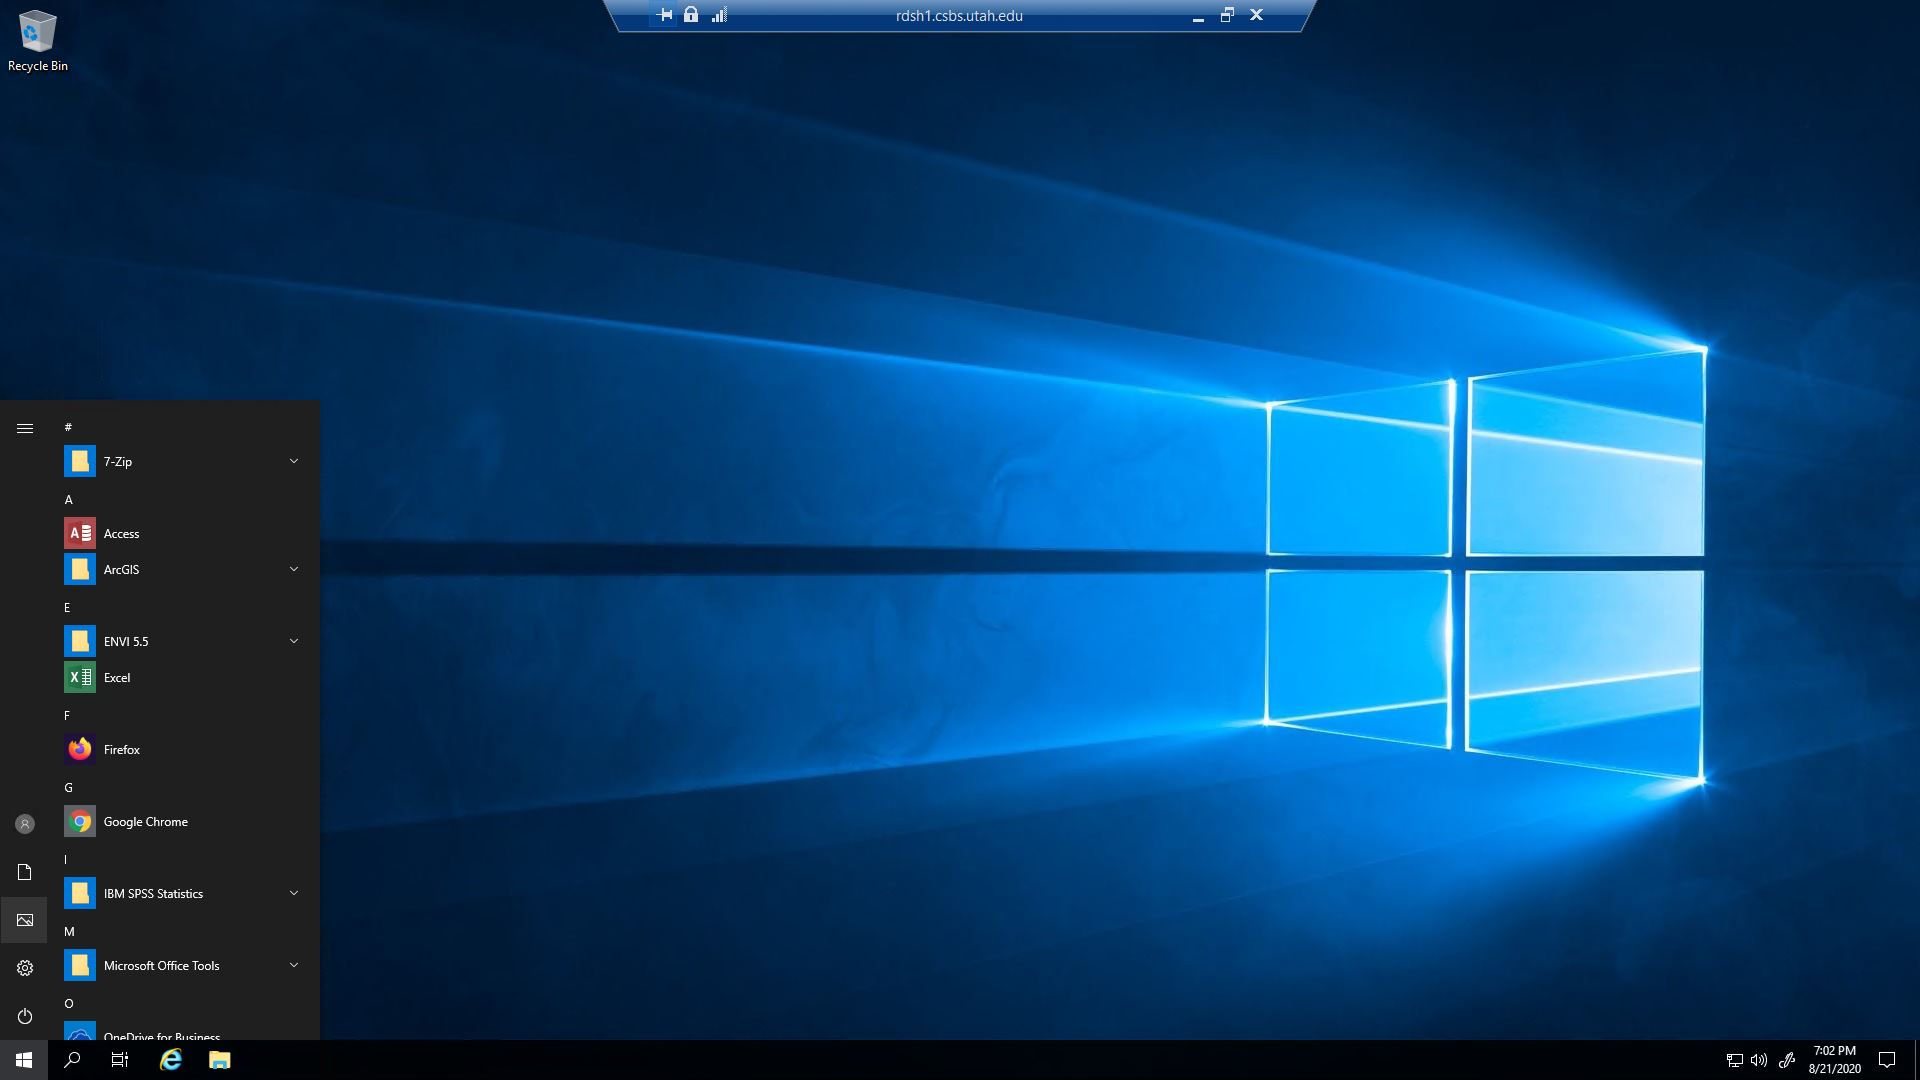
- If you have connected full screen, then you will not see the window borders, but by moving your mouse pointer to the top middle of your screen, you will see a title bar with the name of the server you connected to, as in this example:
![]()
How to Connect Using a Mac
-
- If you are using a Mac running macOS, you will need to download and install the Windows
app from the App Store before following the steps listed below.
Windows app for Mac Download: Windows App in AppStore - Connect to the Department VPN Service
- Launch the Windows app for Mac application
- Click (+) to add a new connection.
- Enter the PC information
- PC name: rdsh1.csbs.utah.edu
- User account: ad\<your UNID>
- Friendly name: (Optional) - RDSH1
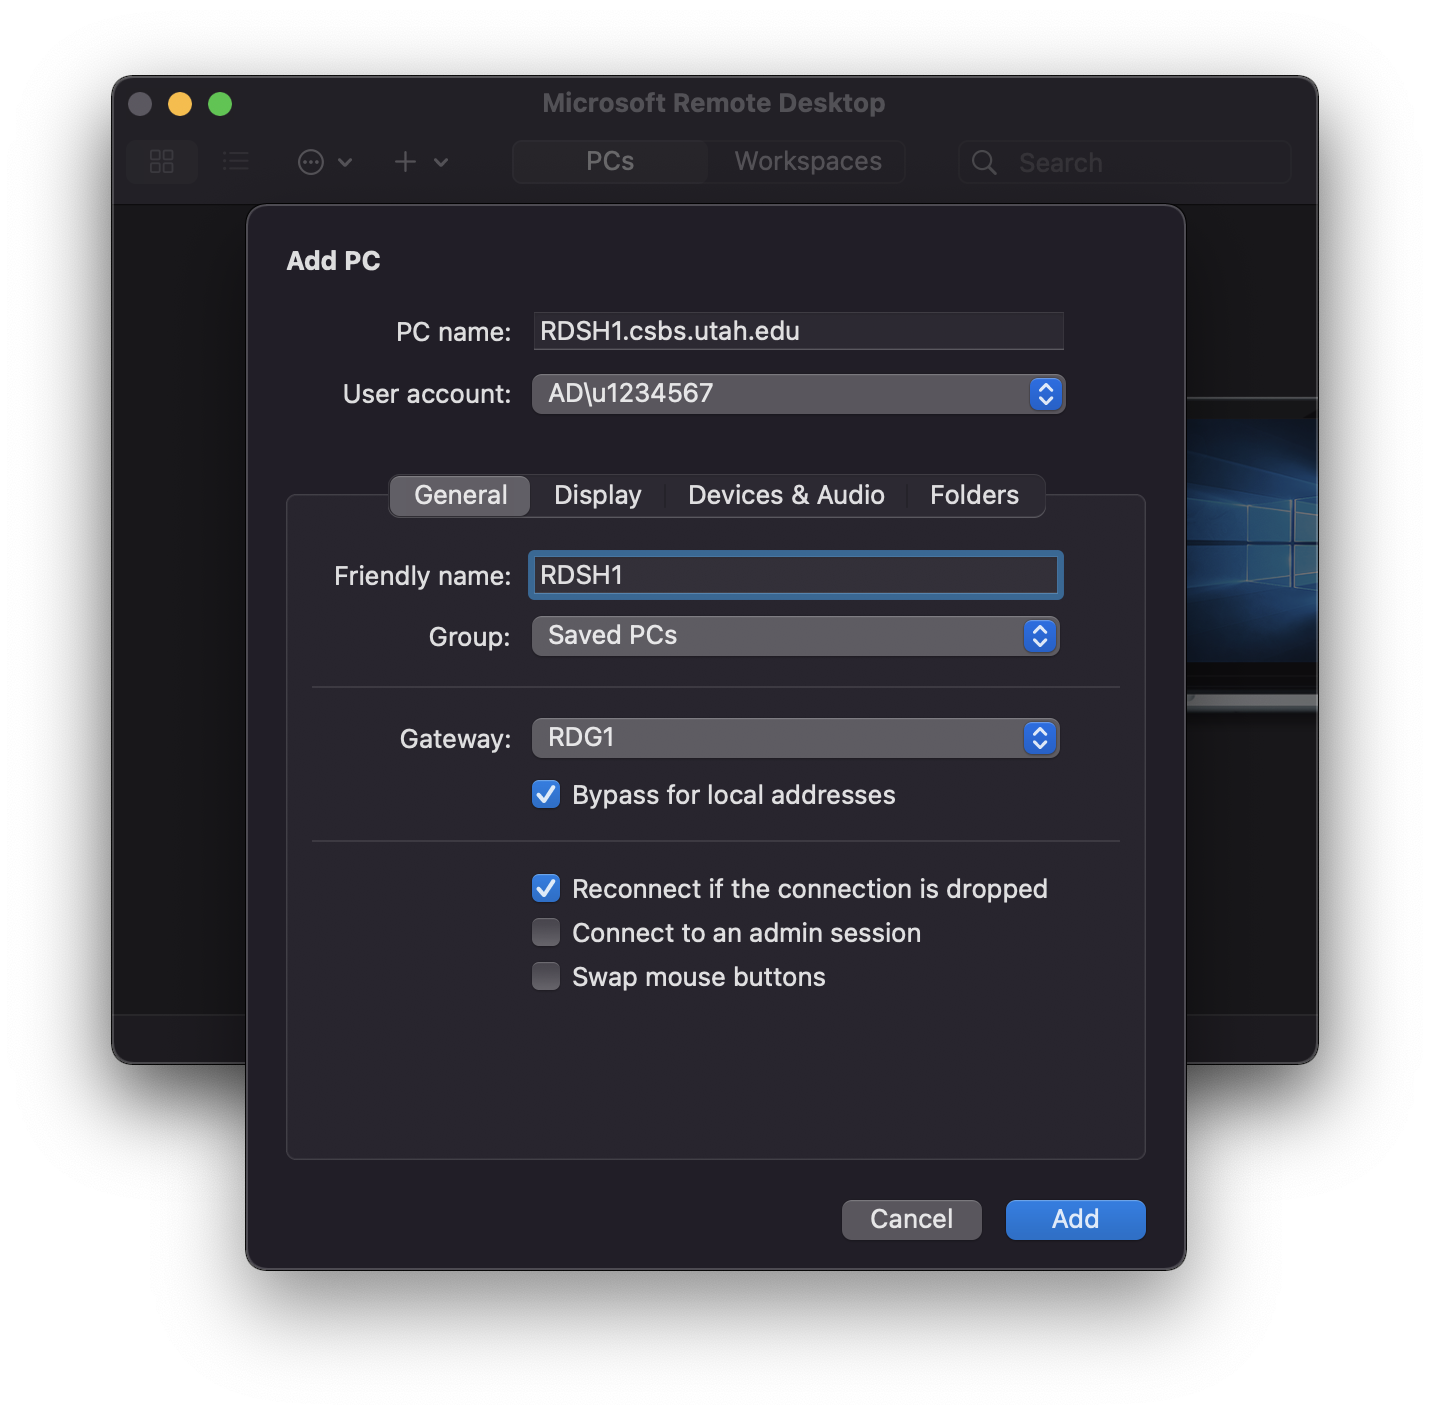
- Click "Add", close the Window and then Double-Click the new connection.
- You will be notified regarding the use of Duo Mobile for 2FA during this login, be aware that each time you login you will need to approve the request from the Duo Mobile app on your phone. If you do not use Duo but still need access to this service, submit a helpdesk case.
- If you are using a Mac running macOS, you will need to download and install the Windows
app from the App Store before following the steps listed below.
Important Notes about using the remote desktop
Disconnecting vs Logging Off
- If you close a remote desktop by choosing the"X" in the right corner of the title bar, you will not be logged out of the server. Instead any applications you are running when you clicked the "X" will continue to run and you will be able to access those running programs the next time you connect to the terminal server.
- If you do not require your applications to remain open when you disconnect, then log off of the server by choosing Log Off from the terminal server's start menu.
Printers
- The default printer that your workstation uses should be available to the terminal server's applications. However the printer name will be slightly different in that it will show your printer name plus your workstation name in the following format "printer_name (from workstation_name) in session X"
- The terminal server may have other printers that you can select in addition to the printer(s) from your workstation.
- Be sure to choose the correct printer when you select print from the application you are using.
Scratch Storage
- Scratch storage (E:) is directly connected to the terminal server, unlike the N: drive which is accessed via the network.
- Scratch storage (E:) is not backed up and is intended for storage of temporary files.
- If your application uses temporary files, you will find that your application will gain a significant performance boost when using the scratch storage (E:) versus using Network storage (N: or S:).
- Files left inactive on scratch storage (E:) are deleted at regular intervals. Be sure to copy/move/save what you need on your network or leased storage.
Lease Storage
- Lease storage is directly connected to the terminal server, like scratch storage, but unlike scratch storage, lease storage is backed up.
- You will gain the most performance by pointing your temporary files to scratch storage and your input/output data files to lease storage.
Local Workstation Storage
- If you have files on your workstation that you want to use with the applications on the terminal server, you must first transfer those files to your network storage, either via your N: drive if you are on campus, or via VPN + drive mapping if you are off campus.
Maintenance Outages
- Terminal Servers are affected by the regular outage schedules. Disconnected sessions will be logged out and running programs will be terminated. Please plan to work around these outages.
- Schedule
